Graveyard Keeper 2 Zombie Resurrection — The Five Errors
Graveyard Keeper 2 resurrection can fail for five reasons: a missing collar, a red skull mismatch, no Reanimation Liquid, no Envy power, or an incomplete corpse.
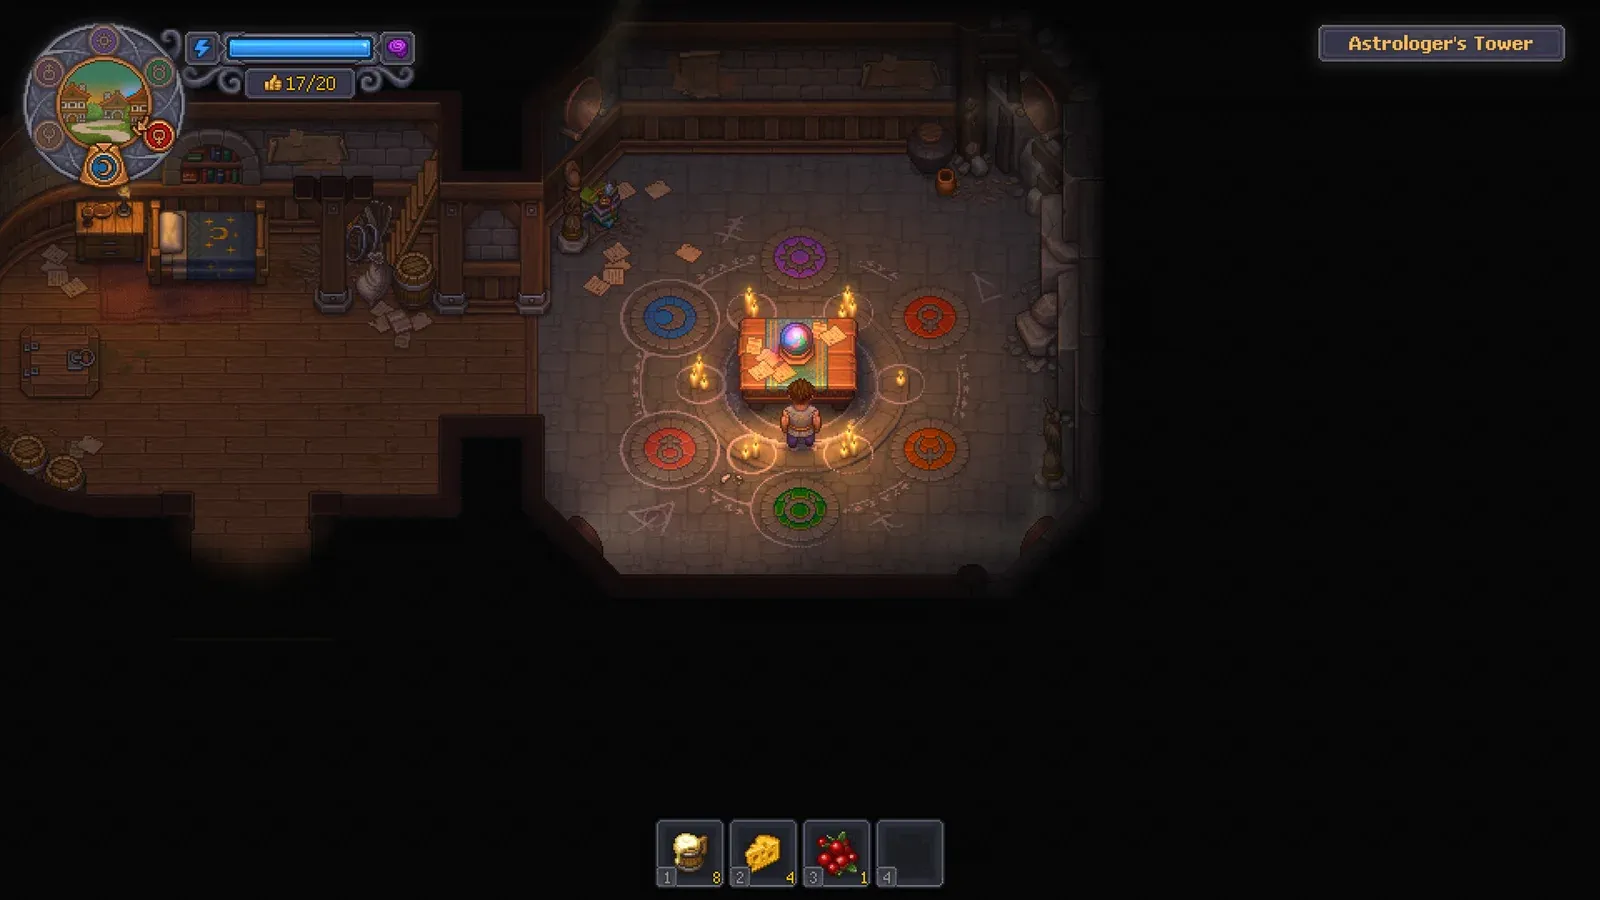
Why won’t the resurrection table let you prepare a body?
It refuses for five separate reasons, and they do not share a fix. You may be missing a collar, using a collar whose red skull cap is below the corpse, missing Reanimation Liquid, standing in the lab on a day that is not Envy, or holding a corpse whose organs are incomplete.
| Error | Cause | Fix |
|---|---|---|
| The table will not accept the body at all | No collar is available for the slot | Craft a Bronze Zombie Collar at the Jeweler’s Table: 1 Bronze Ingot, 1 Blue Crystal, 3 Faith |
| This Zombie Collar isn’t good enough for this corpse | The corpse has more red skulls than the collar’s cap allows | Fit a collar with a cap at least equal to the red skull count: Bronze 0 to 5, Golden 0 to 10, Steel 0 to 99 |
| The Reanimation Liquid slot is empty | The liquid has not been brewed or bought | Make it at Laboratory II from exactly 2 red, 1 green and 4 blue runes, or buy it from Gunter or the Alchemist |
| The room has no power until the next Envy day | The Resurrection Lab is only powered on Envy, and the charge is spent once | Wait for the next Envy day, or get the God of the storms buff from a successful Prayer for Storms |
| This body is missing vital organs | One of the six organs was replaced by a Surgeon’s Error | Use a corpse that still has skull, brain, heart, guts, bones and skin |
The important thing about the list is that the checks are independent. A Steel collar does nothing for a corpse with no heart, and a fresh Envy day does nothing for a body with a missing organ.
Error 1: you have no zombie collar
A zombie needs a collar before it can be raised. Without one there is no red skull cap to compare against the corpse, so the body cannot be prepared. Bronze Zombie Collar is the entry tier: 1 Bronze Ingot plus 1 Blue Crystal and 3 Faith at the Jeweler’s Table.
The full ladder is short. Bronze takes 1 Bronze Ingot, 1 Blue Crystal and 3 Faith and sells for 1 silver; Golden takes 1 Golden Ingot, 1 Blue Crystal and 5 Faith and sells for 10 silver; Steel takes 1 Steel Ingot, 1 Blue Crystal and 10 Faith and sells for 90 silver. The recipes come from the Reanimation technology line — Reanimation unlocks the Bronze collar alongside the Resurrection Table I and Prayer for Storms at 30 red, 10 green and 10 blue points in Anatomy and Alchemy, and the later tiers unlock Gold and Steel.
Two things about collars are easy to get backwards. They never restrict which mastery a zombie can use; the cap is only about red skulls. And they can be swapped after resurrection, so a Bronze collar fitted early is not a permanent waste — you can upgrade the same worker later without redoing the body.
Error 2: the collar’s red skull cap is too low
The collar’s cap must be at least the corpse’s red skull count. If it is not, the table returns the message “This Zombie Collar isn’t good enough for this corpse. You need a higher-quality collar.” Bronze caps at 5, Golden at 10 and Steel at 99 red skulls.
This error grows over the course of the game without you changing anything. Arrival corpses start at roughly 0 to 1 red skulls, rise to about 1 to 5 after Brawns and Brains, and reach roughly 3 to 7 after The House at the Crossroads. A Bronze collar that was fine in week one starts failing later, which reads as a bug unless you know the caps.
Red skulls are the resource you are chasing, not a defect. Each red skull opens one perk slot on the zombie, and a worker with zero red skulls can hold no perks at all, so the high-corruption bodies are the ones worth raising. The corruption side is explained in corruption and red skulls, and the perk side in zombie mastery and perks.
Error 3: you have no Reanimation Liquid
Reanimation Liquid is a consumable in the recipe, not a station upgrade. The formula needs exactly 2 red, 1 green and 4 blue runes, which puts it among the six formulas that require Laboratory II, and it can also simply be bought from Gunter or the Alchemist.
Knowing a working ingredient combination does not skip anything. One valid mix is Clay, Alcohol and Salt, one of each, but knowing that does not bypass the technology gate or the discovery requirement, and the lab refuses any ingredient whose runes you have not revealed yet. Runes are revealed by researching the ingredient at the Study Table, and a colour is capped at 5 runes per brew. Laboratory I holds two ingredients and Laboratory II holds three.
The technology itself arrives through Gunter’s Necronomicon chain, The Ingenious Gentleman Don Keyote, which has conversation gates at 20 and 30 Gunter reputation. Buying the liquid instead is legitimate and often faster in the mid game, because the Alchemist and Gunter both stock it. The wider formula list is in alchemy recipes.
Error 4: it is not an Envy day
The Resurrection Lab only receives power on the Envy day of the six-day week. Spend that power once and the room goes dark until the next Envy day, which is a full week away. The game tells you to wait rather than showing a material failure.
The week runs Gluttony, Sloth, Lust, Envy, Pride and Wrath, and the game shows only glyphs rather than day names, so Envy is the glyph you have to recognise. Envy’s power is restored at the last moment of the Lust day, which is why an attempt close to the day boundary can behave unpredictably.
The workaround is worth setting up before you need it. A successful Prayer for Storms grants the God of the storms buff, and while that buff is active you can use the resurrection table on any day of the week. That removes the weekly timing gate entirely, at the cost of one prayer. The day-by-day mechanics are spelled out in church and sermons.
Error 5: the corpse is missing vital organs
A body must still have all six vital organs: skull, brain, heart, guts, bones and skin. If any slot has been replaced by a Surgeon’s Error, the table refuses with “This body is missing vital organs. You can’t make zombies without them.”
This is the one error you cannot repair at the table, and that is exactly why it should be checked first. The damage is permanent for that corpse, so send it to burial or the crematorium instead and keep the intact bodies for the lab. Sorting bodies is a normal part of an autopsy routine rather than a failure state.
Autopsy progression controls how safely you can remove organs in the first place. Skin and Bones leads to Skull and Teeth, then Autopsy, Advanced at 20 blue points, then Embalming I and finally Autopsy, Master, and each tier unlocks safer extraction of more organs. Since arrival corpse quality also rises as the story advances, early bodies are both the hardest to keep intact and the weakest zombie candidates.
What order should you check them in?
Check the corpse first, because it is the only failure you cannot repair at the table. Then the collar, then the collar’s cap, then the liquid, then the day, and finally the zombie limit. Fixing the cheap checks first only wastes materials when the body itself is unusable.
The sixth gate is the zombie limit, which players often mistake for one of the five. Capacity equals the Resurrection Lab’s quality, and going over it triggers the Excessive zombies debuff that cuts sermon rewards. The only way to raise the limit is the PR Machine, which accepts material only on a Gluttony day, in tiers from plus 10 for one week up to plus 80 for five weeks. One quest, Personal Zombie Zone, yields a zombie that does not count against the limit.
What the resurrection screen does not tell you
Faith cost is the big unknown: the tutorial confirms the material list but does not give a universal Faith cost, and no reliable source has published one. The screen also rolls a random name from 40 options, and a Roll Name button lets you reroll it if you dislike the result.
Appearance is decided earlier than most players expect. A zombie’s look is set on the corpse before resurrection, drawn from 10 head types and 5 hair colours, and it does not change afterwards, so the body you choose is the worker you keep.
The lab also has to be opened before any of this matters. The old door beside the Morgue takes 1 Bronze Detail and 1 Melted Fat, and the Resurrection device itself is repaired with 1 Bronze Detail and 2 Wooden Plank. If all you need is labour, though, the resurrection route is the slow one: the Plague Doctor gives 2 free workers and Gunter gives 3 more, so read how to get zombie workers before spending Faith and collars on a body you could have been handed for free.
Related Articles
guides
Graveyard Keeper 2 Common Mistakes and How to Avoid Them
The Graveyard Keeper 2 mistakes that stall most players: unarmed zombies, no supplier, slow training, wrong perks, refused resurrections and idle factories.
guides
Graveyard Keeper 2 Factory Power — Demand vs Capacity
Factory power in Graveyard Keeper 2 is min(demand, capacity): each conveyor tile adds 1 demand, each Carousel worker adds 7 capacity, and Jack needs 20.
guides
Graveyard Keeper 2 Beginner Guide — Your First Week
What to do first in Graveyard Keeper 2: the three-stage opening route, a first-week day plan, technology priorities, tired rules and your first zombie.
Was this helpful?
Thanks for the feedback!