Graveyard Keeper 2 Town Restoration — How It Works
How Graveyard Keeper 2 town restoration works: the reclaim-then-rebuild loop, what each building costs in kits, and how the Town upgrades your corpses.
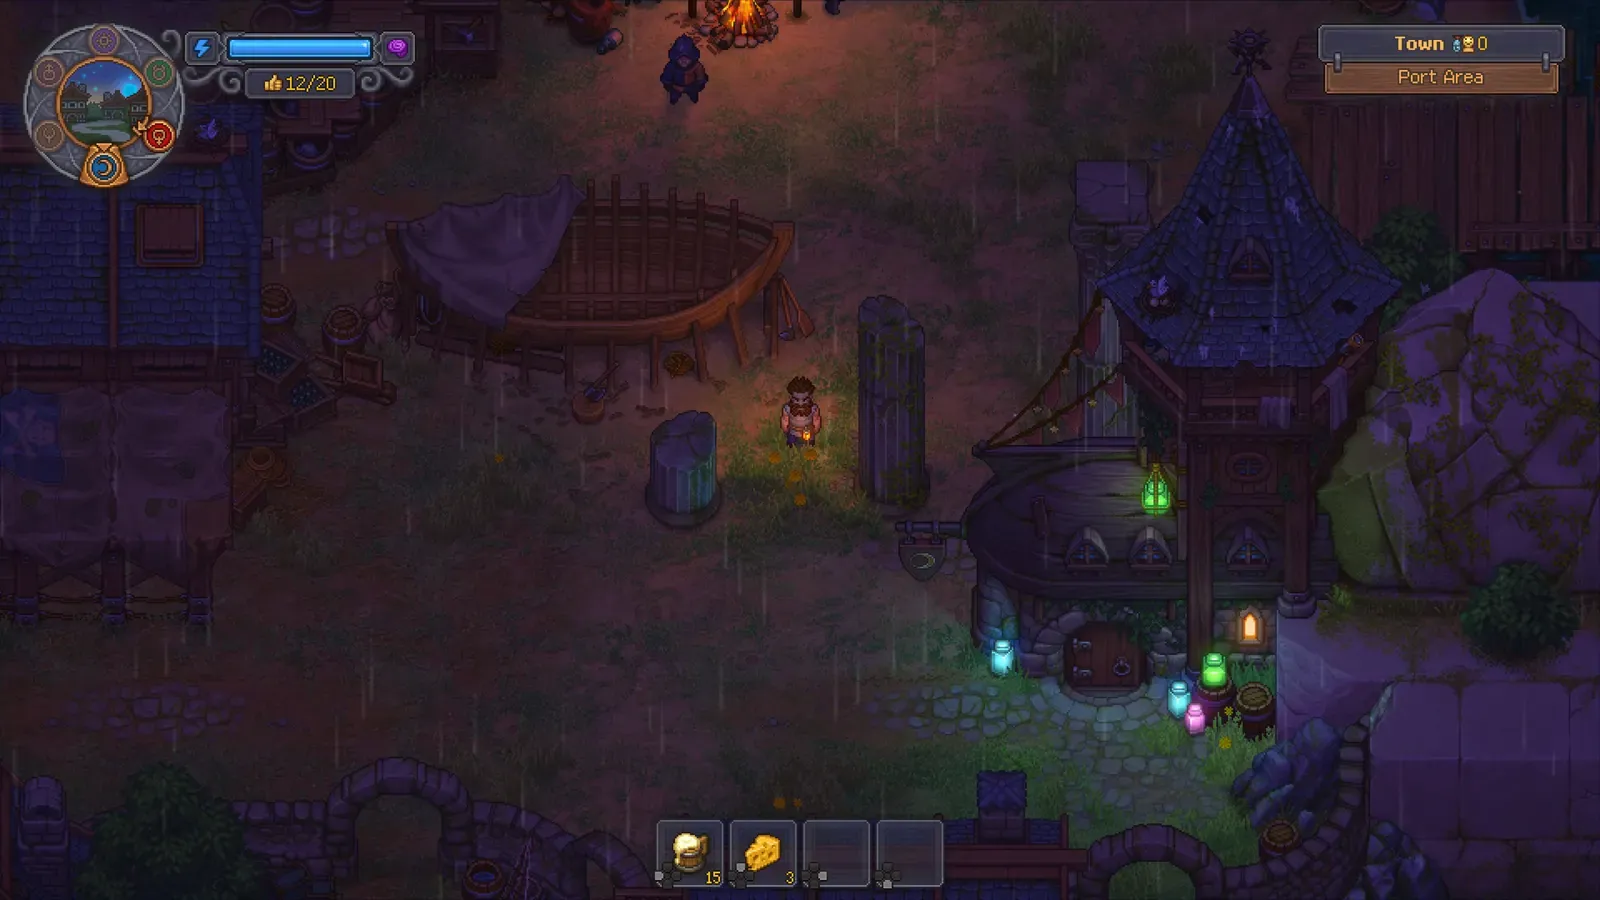
What is The Town in Graveyard Keeper 2?
The Town is the headline addition of Graveyard Keeper 2, and it is open for business rather than a locked rumour. It lies nearly abandoned and mostly overrun by townsfolk who turned into undead zombies, and your job is to reclaim it district by district. The story sits eight years after GK1.
The official developer post describes it directly: The Town lies nearly abandoned, and you – the Graveyard Keeper (aka Lord Inquisitor) are the last person capable of saving it, rebuilding it, and leading it into a new era of prosperity. It also confirms the setup: most of the Town has been overrun by townsfolk who turned into undead zombies. Your job is to reclaim the city district by district.
The developers frame the real obstacle as hopelessness… and a lack of consumer goods rather than the undead, which is why shops and markets matter as much as battles. Their name for the era is Zombie Capitalism: restoration, mass production and mass consumption.
How does the reclaim-and-rebuild loop work?
Every district is a two-step project: reclaim it by clearing the undead holding it, then bring it back to life. Official wording calls for restoring comfortable housing, reopening cafés and shops, and rebuilding local infrastructure, with several buildings and businesses available to choose from at any time.
Those choices matter, and the developer post says why: Buildings won't just improve The Town itself. They'll also create new markets for your goods and unlock valuable products and resources for you to buy. A rebuild is also a procurement move: stuck on a material you cannot craft, the answer may be the district that sells it.
Districts are Square, Port Area, Stilt Houses, Sluice Area and Palace, with Jack’s Workshop, Barracks and Town Warehouse above ground and the Sewers and Royal Foundry below. Restorable plots come to Housing ×13, Merchant Stalls ×7 and Workshop Courtyard ×4, across 41 town building projects.
Combat is gated by the calendar: battles only open on Sloth day, and wikily’s Town page lists 10 of them, from Break Through to the Port through the district purges and the Final Battle. The first one, Break Through to the Port, is also the story gate that raises the Gratitude cap from 10 to 20. District order, prerequisites and costs are not published; gk2guide lists all three as unverified.
What do you need to rebuild a building?
Rebuilds consume kits, not gold. You build on a free plot’s sign: the eight market shops (Apothecary, Vegetable Stand, Tailor, Furniture Maker, Baker, Fish Stand, Alchemist, Jeweler) need Merchant Stalls plots, while the four artisans (Builder, Smithy, Tavern, Brewery) need Workshop Courtyard plots.
Tier I costs split into three groups:
| Building group | Tier I materials |
|---|---|
| Apothecary, Vegetable Stand, Tailor, Builder, Smithy | 4 Building Kit I + 3 Wooden Kit I + 1 Iron Kit I |
| Furniture Maker, Baker, Fish Stand, Tavern, Brewery | 6 Building Kit I + 4 Wooden Kit I + 2 Iron Kit I |
| Alchemist, Jeweler | 8 Building Kit I + 6 Wooden Kit I + 3 Iron Kit I |
Placement is gated by technology. Market Stalls I comes free from the main quest Safe Harbor, and Artisans I unlocks after Conveyors for 75 red + 25 green. Later tiers need Building Kit I or Furniture Kit I first: Artisans II costs 100 red + 75 green, Market Stalls II costs 130 red + 30 green, and Market Stalls III costs 150 red + 50 green. The tech tree overview shows the surrounding nodes.
Tier II and III upgrades need no technology, only materials, and each upgrade gives Village reputation +2, sometimes +3. Apothecary II needs 4 Furniture Kit I + 1 Sculpture Kit I + 2 Glass Containers; Tavern II needs 10 Furniture Kit I + 6 Marble Kit + 20 Apple Cider. Stage costs do not stack, so do not buy a stage’s materials twice.
Housing is the other half of the rebuild, and it pays in Green Scrolls:
| Project | Materials | Reward |
|---|---|---|
| Repair Small House ×1 | 4 Building Kit I + 3 Wooden Kit I + 1 Iron Kit I | 1 Green Scroll |
| Repair House ×3 | from 6 Building Kit I + 4 Wooden Kit I + 2 Iron Kit I | 3 Green Scrolls |
| Repair Large House ×7 | from 16 Building Kit I + 8 Wooden Kit I + 4 Iron Kit I | 10 Green Scrolls |
| Repair Block ×5 | 16 Building Kit II + 10 Furniture Kit II + 5 Sculpture Kit II | 20 or 25 Green Scrolls |
The first rebuild the story asks for is Safe Harbor: Gunter wants Tarot Cards, Linda holds them at the Dockside Club, and she wants a shop on a Port Merchant Stalls plot first. A Vegetable Stand is enough. Report back for Tarot Cards ×1, 10 Linda reputation, 1 Town Gratitude and 1 bronze Story; the main quest order puts that step in sequence.
The Builder talent softens the bill: finishing a Tier I shop or house repair gives a 30 percent chance per kit to refund between one and half of that kit, rounded down.
How do shops, cafés and markets pay off?
Restoring one shop gives four things: Village reputation, a trader with their own stock, that trader’s Town orders, and progress toward the Shop Owner Inspiration and the Patron of merchants achievement. Tier I, II and III traders earn 20 copper, 50 copper and 1 silver each day.
Traders also cap how many Likes they can hand you per week: 8 at Tier I, 16 at Tier II and 25 at Tier III, with Herm as the exception at 2 / 15 / 20 and Januarius at 10 / 15 / 20. Each trader holds a purse and cannot pay more than it contains, and prices fall as their stock of a good grows. The shop and economy guide covers that behaviour.
Town orders are the second income stream. The game has 76 orders built from only 22 supply box types, delivered to the Town Warehouse, which also buys surplus. Orders can only be taken on Pride day, you can hold 2 at a time, and Urgent orders must be delivered within a week while Regular ones accumulate. Each order rewards 10 to 80 Likes, and the same goods are paid again at base price on Pride day, so one delivery pays twice.
Green Scrolls close the loop. Repaired houses produce them, Linda at the Dockside Club collects them only on Lust day with choices of attracting 1, 5 or 10 new people, and the resulting Town quality raises the Likes cap that feeds your next sermon. The Gratitude guide tracks that cap. Capacity is tight: 7 Merchant Stalls plots fit 8 market shops, while the Patron of merchants achievement wants 11 shops.
Does restoring the Town change the corpses you get?
Yes, and the official wording splits it into two independent levers. Town size governs how many corpses arrive; town prosperity and sin govern how good they are, with each corpse carrying more skulls. A larger, richer and more sinful Town therefore feeds a stronger zombie workforce.
The larger The Town grows, the more corpses you’ll receive. The better supplied and more prosperous (and therefore sinful) The Town becomes, the better the corpses will be too. Each corpse will have more skulls.
Those are the developers’ own words, so the corpse pipeline is a reason to keep rebuilding after the story ends — they also say the Town will continue to exist and evolve on its own. The mechanical twist is that red skulls, the corruption of GK1, now let zombies develop better skills; the developers note you may find yourself doing the exact opposite of GK1’s white-skull optimisation. A prosperous Town produces better corpses, which make better zombies, which produce more and fight harder, feeding the Town again. Whether white skulls still carry value in GK2 is unconfirmed. See corruption and red skulls.
What are the town restoration stages?
Treat restoration as a staged pipeline rather than a checklist. Reclaiming a district is the gate, Tier I shops and house repairs follow, and Tier II and III upgrades raise reputation and trader income. Orders and Green Scrolls turn the rebuilt town into a weekly resource.
| Stage | What it needs | What it unlocks |
|---|---|---|
| 1. Reclaim a district | Win that district’s battle, on Sloth day only; the first is Break Through to the Port | Town access, free building plots, and a Gratitude cap of 20 after the first win |
| 2. First rebuild (Safe Harbor) | A Vegetable Stand on a Port Merchant Stalls plot: 4 Building Kit I + 3 Wooden Kit I + 1 Iron Kit I | Tarot Cards ×1, 10 Linda reputation, 1 Town Gratitude, 1 bronze Story |
| 3. Tier I shops | Market Stalls I (given by Safe Harbor) or Artisans I (75 red + 25 green, after Conveyors), plus that group’s kit cost | A trader with their own stock, that trader’s Town orders, Village reputation |
| 4. Tier II and III upgrades | Materials only; no technology required | Village reputation +2 or +3, higher daily trader income, higher weekly Likes caps |
| 5. Housing repairs | Building, Wooden and Iron kits for small houses; Building Kit II + Furniture Kit II + Sculpture Kit II for blocks | Green Scrolls, which Linda converts on Lust day into Town quality and a higher Likes cap |
| 6. Weekly operations | Pride day order pickup, maximum 2 active orders; delivery at the Town Warehouse | 10 to 80 Likes per order plus base-price payment for the same goods |
Related Articles
town
Graveyard Keeper 2 Gratitude — How to Get and Cap It
How Graveyard Keeper 2 Gratitude works: the golden thumbs-up, the 10-to-20 cap, every weekly source, and the buy-and-resell trick that fills 10 points cheaply.
town
Graveyard Keeper 2 Fast Travel — Milestones, Not Teleportstones
Graveyard Keeper 2 has no Teleportstone. Fast travel runs on 11 Milestones, which most media call Waypoints — 7 of them cost 23 Faith in total.
town
Graveyard Keeper 2 Town Shops and Orders
Graveyard Keeper 2 town shops each come with their own trader, daily income and weekly Likes — and Town orders open only on Pride day, capped at two at a time.
Was this helpful?
Thanks for the feedback!